目标检测
关于
该功能允许利用 AirSim 中的现有摄像机实现物体检测,类似于基于深度神经网络(DNN)的检测。通过 API,您可以根据物体名称及距摄像机的距离来指定检测目标。您可以针对每种“摄像机、图像类型与载具”的组合,分别配置这些设置。
API
-
以通配符格式设置要检测的网格名称
simAddDetectionFilterMeshName(camera_name, image_type, mesh_name, vehicle_name = '') -
清除所有先前添加的网格名称
simClearDetectionMeshNames(camera_name, image_type, vehicle_name = '') -
设置检测半径(厘米)
simSetDetectionFilterRadius(camera_name, image_type, radius_cm, vehicle_name = '') -
获取检测结果
simGetDetections(camera_name, image_type, vehicle_name = '')
simGetDetections 的返回值是一个 DetectionInfo 数组:
DetectionInfo
    name = ''
    geo_point = GeoPoint()
    box2D = Box2D()
    box3D = Box3D()
    relative_pose = Pose()
使用示例
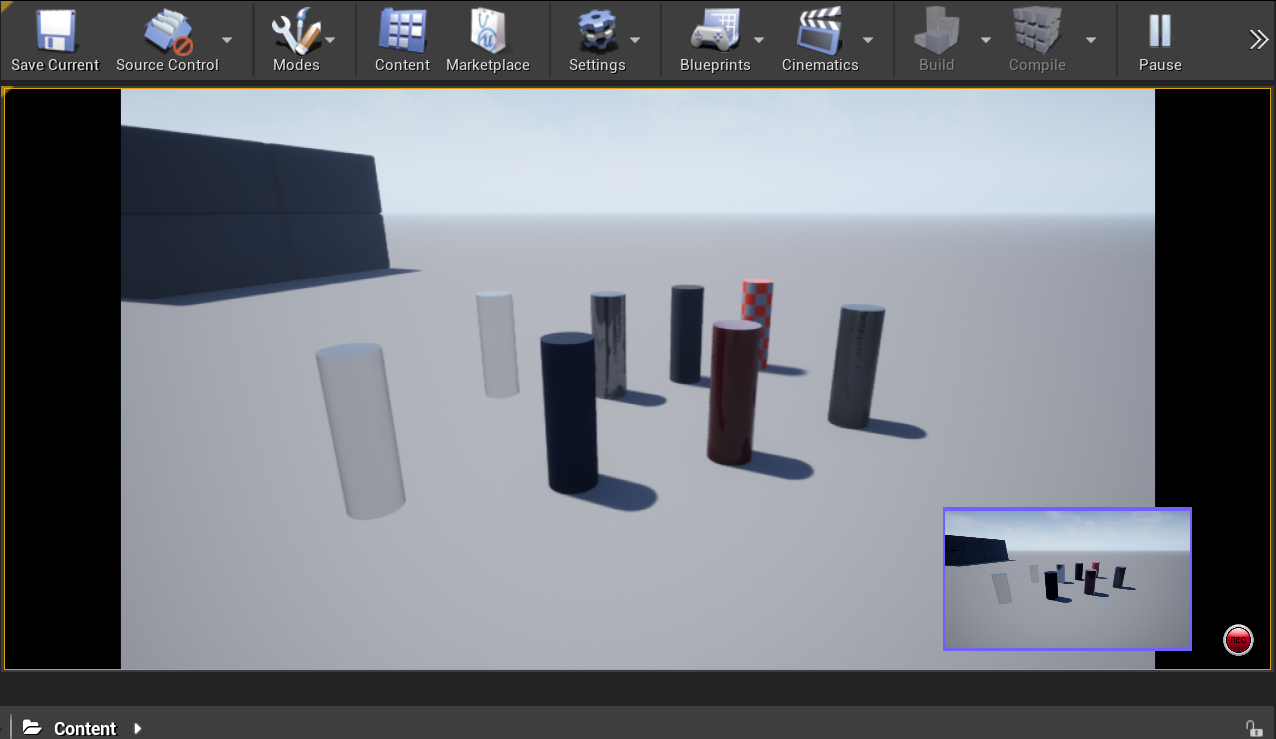
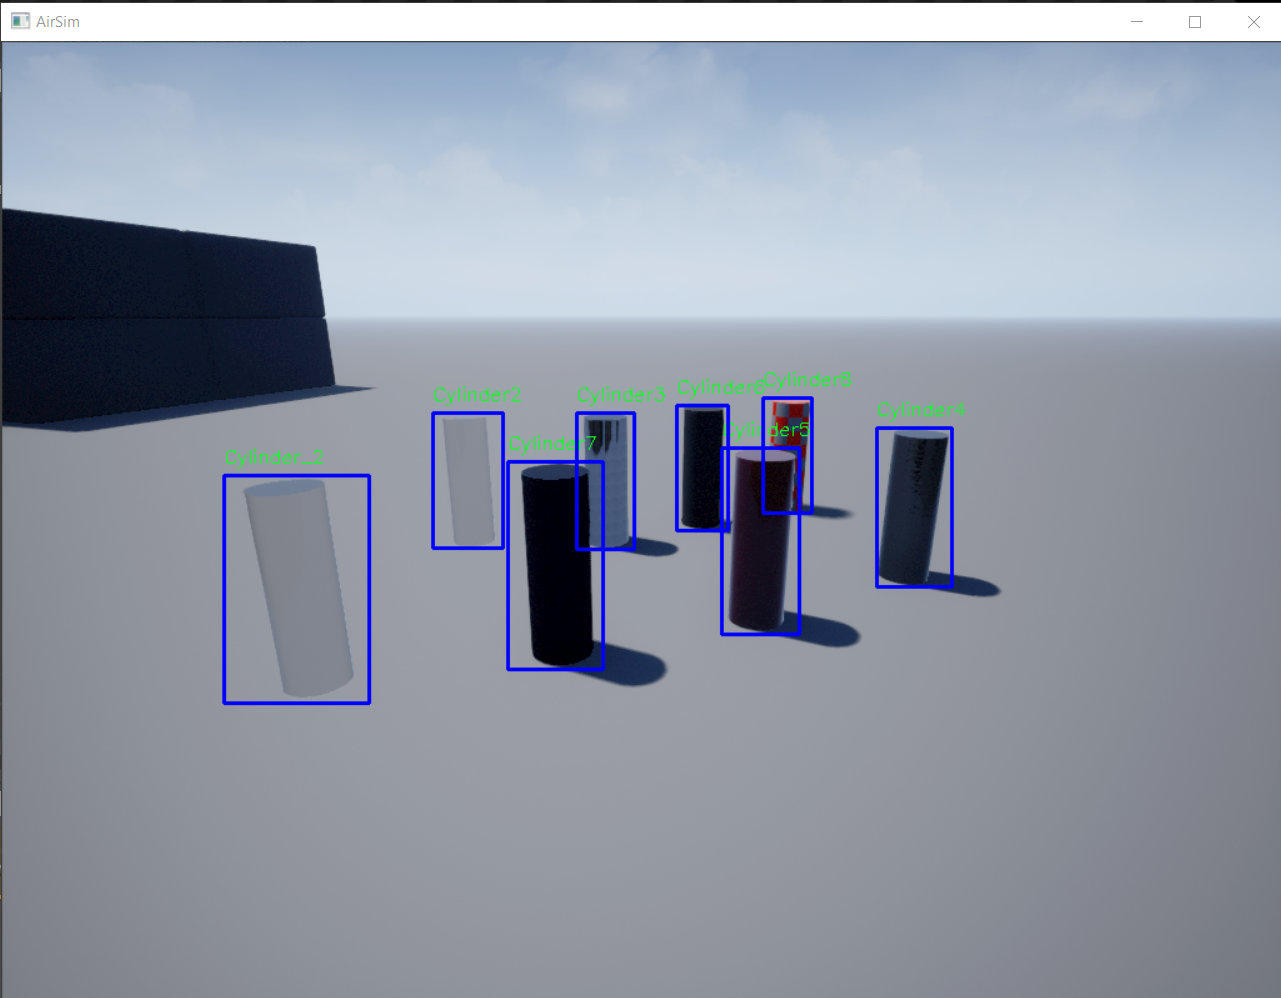
Python 脚本 detection.py 展示了如何设置检测参数,并在 OpenCV 捕获画面中显示检测结果。
一个使用 API 和 Blocks 环境检测圆柱体对象的极简示例:
camera_name = "0"
image_type = airsim.ImageType.Scene

client = airsim.MultirotorClient()
client.confirmConnection()

client.simSetDetectionFilterRadius(camera_name, image_type, 80 * 100) # in [cm]
client.simAddDetectionFilterMeshName(camera_name, image_type, "Cylinder_*")
client.simGetDetections(camera_name, image_type)
detections = client.simClearDetectionMeshNames(camera_name, image_type)
输出结果:
Cylinder: <DetectionInfo> {   'box2D': <Box2D> {   'max': <Vector2r> {   'x_val': 617.025634765625,
    'y_val': 583.5487060546875},
    'min': <Vector2r> {   'x_val': 485.74359130859375,
    'y_val': 438.33465576171875}},
    'box3D': <Box3D> {   'max': <Vector3r> {   'x_val': 4.900000095367432,
    'y_val': 0.7999999523162842,
    'z_val': 0.5199999809265137},
    'min': <Vector3r> {   'x_val': 3.8999998569488525,
    'y_val': -0.19999998807907104,
    'z_val': 1.5199999809265137}},
    'geo_point': <GeoPoint> {   'altitude': 16.979999542236328,
    'latitude': 32.28772183970703,
    'longitude': 34.864785008379876},
    'name': 'Cylinder9_2',
    'relative_pose': <Pose> {   'orientation': <Quaternionr> {   'w_val': 0.9929741621017456,
    'x_val': 0.0038591264747083187,
    'y_val': -0.11333247274160385,
    'z_val': 0.03381215035915375},
    'position': <Vector3r> {   'x_val': 4.400000095367432,
    'y_val': 0.29999998211860657,
    'z_val': 1.0199999809265137}}}